Jingle Stocking

Ready for a stocking upgrade? Start your holiday prep by making some beautiful Jingle Stockings for the mantel! Make a simple stocking that showcases your Liberty fabrics or experience the wonderful process of Foundation Paper Piecing (FPP) candy stripes with our Striped Jingle Stocking. Check out our NEW stocking patterns on our DuckaDilly Downloads page.
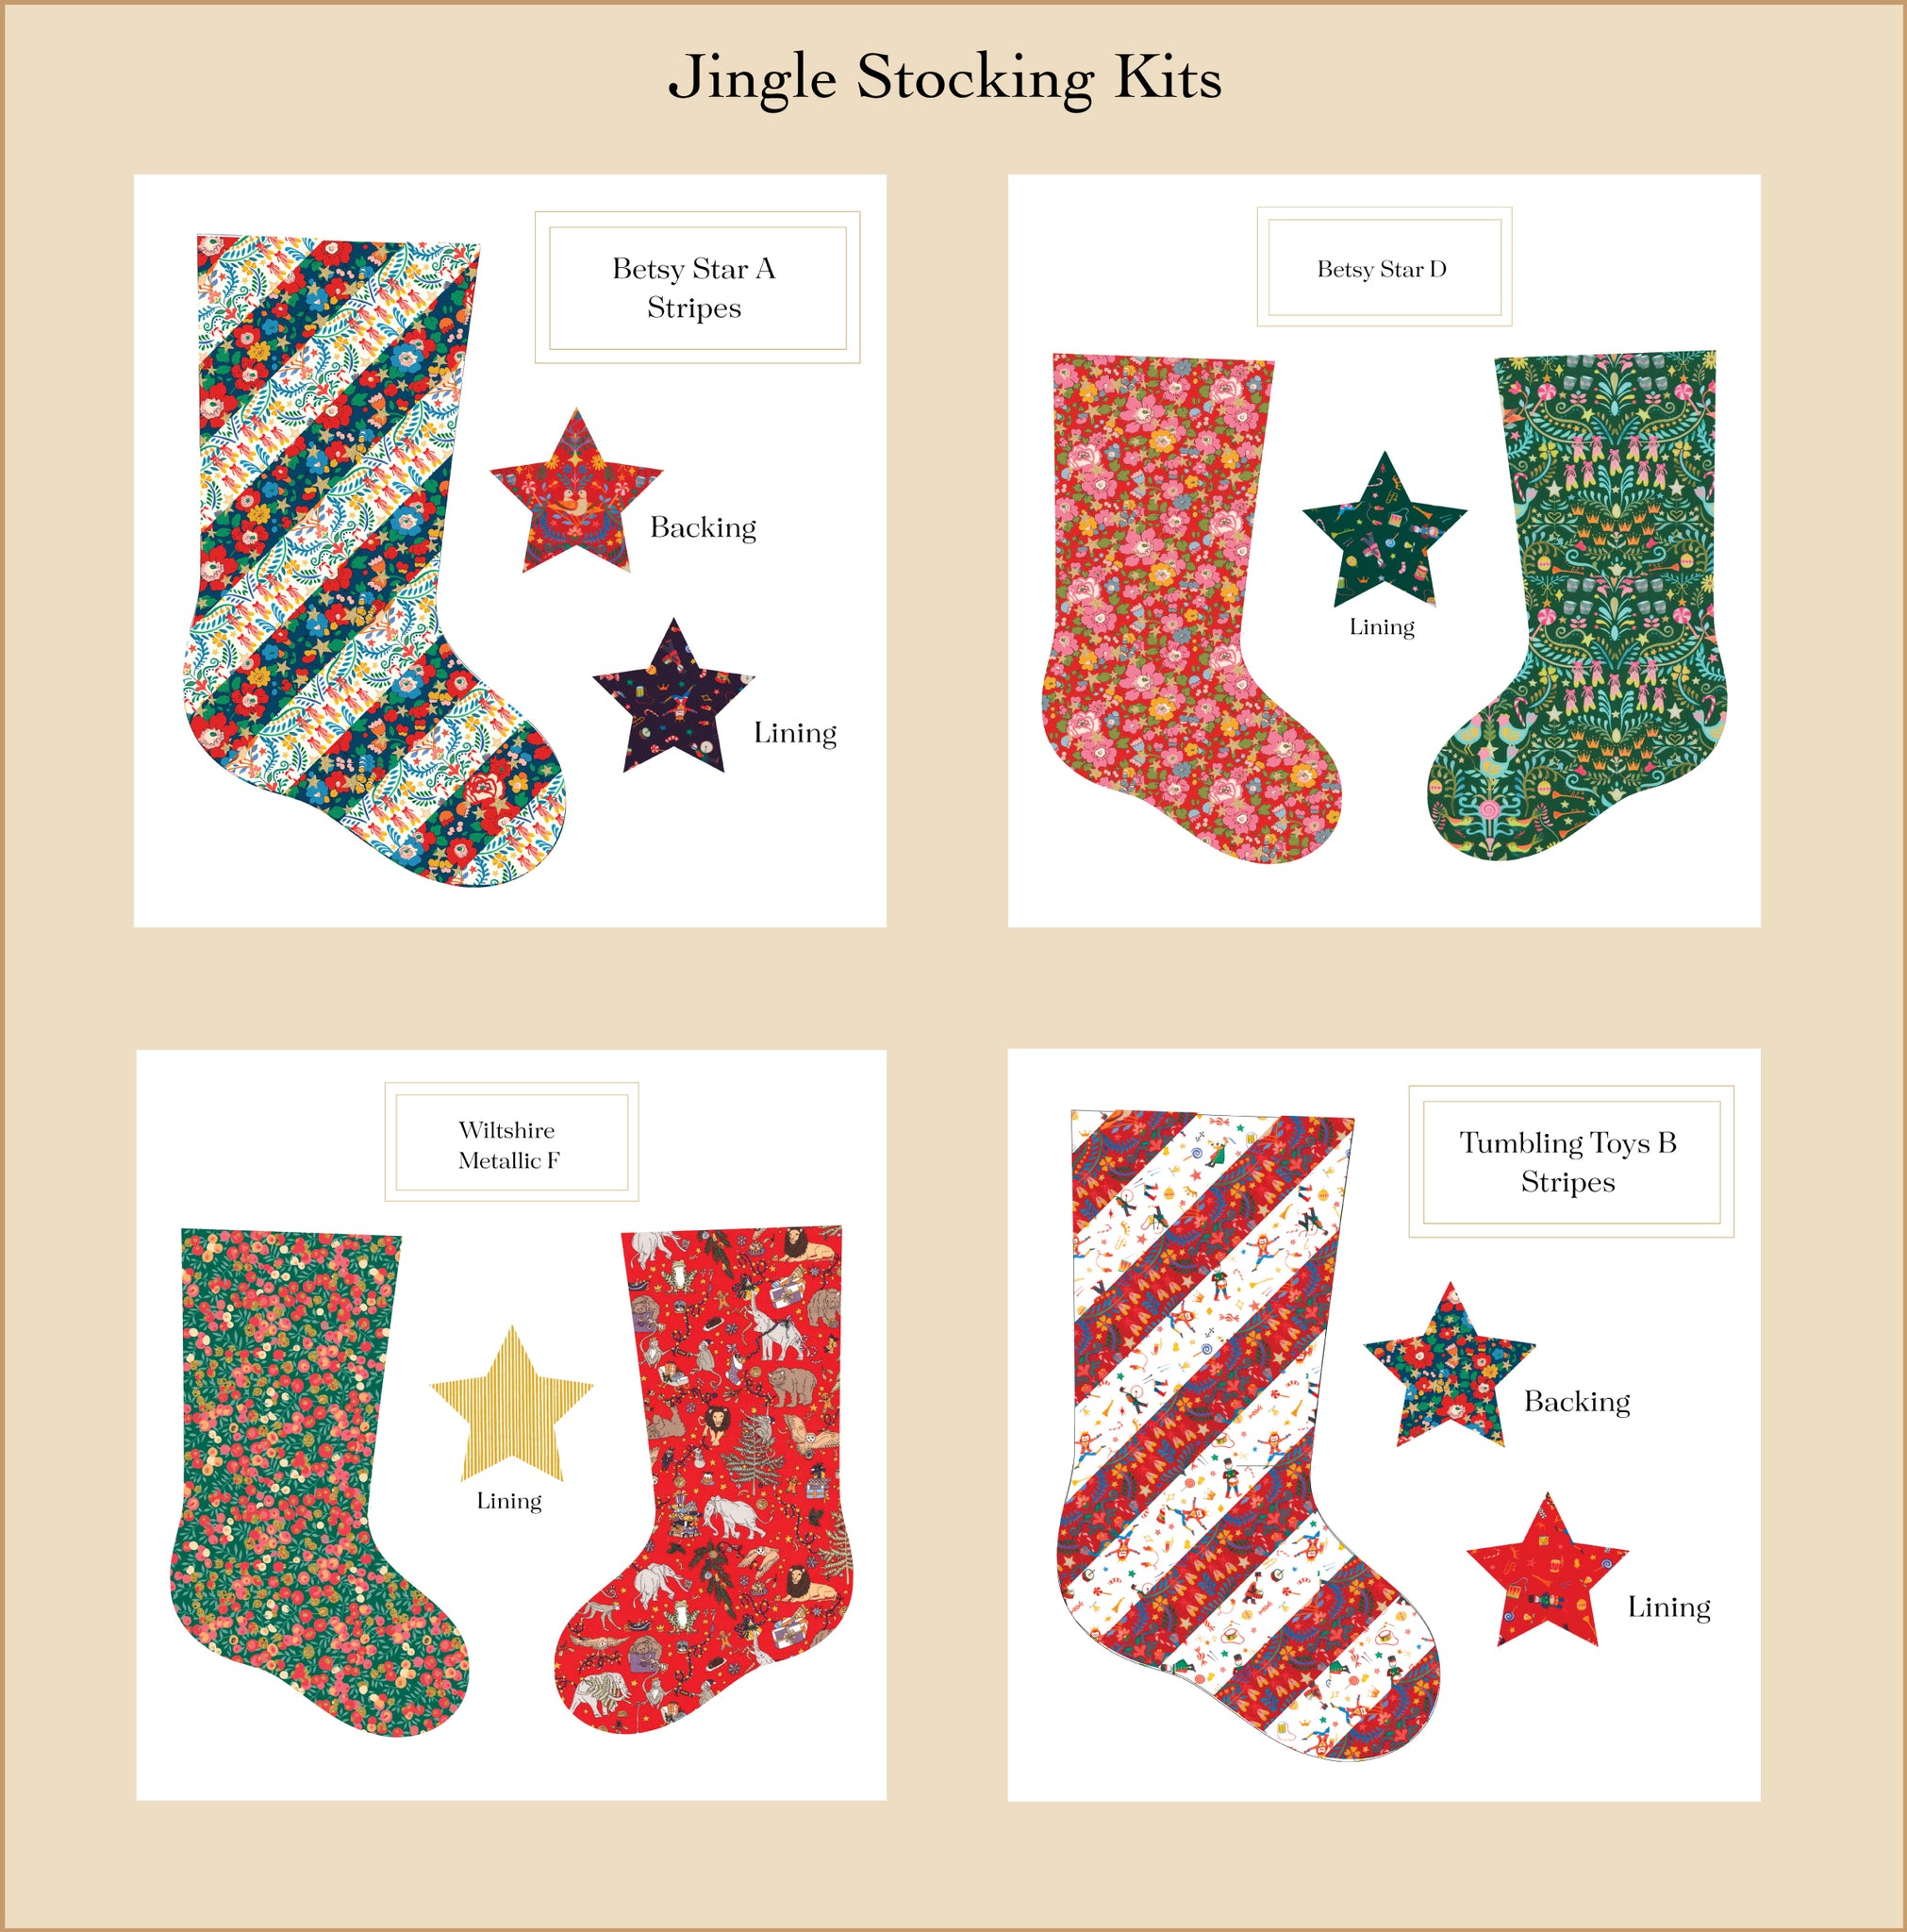
Follow along as we guide you through the process of making a Jingle Stocking. This cute Christmas stocking is beautiful on the inside and out, and is sure to please every member of your family. So, visit your fabric stash of Christmas' past or check out our Jingle Stocking Kits. The possibilities are endless and it's seriously so fun!
Finished Dimensions
13” x 22”
Fabric Requirements
Front fabric: 14” x 24”
Back fabric: 14” x 24”
Lining fabric: 24” x 28”
Hanging loop fabric: 2 1/2” x 10”
Fusible interfacing
(we like Pellon SF 101): 2 1/2" x 10"
Batting: 24” x 30” or 2 pieces that each measure about 15” x 24”
NOTE: Be mindful of directional prints when cutting out stocking pieces.
Sewing Supplies and Notions
Iron and ironing board
Cutting mat and rotary cutter
Pins or Wonder Clips
Tape or Glue Stick (for pattern assembly)
Scissors
Sewing machine and good needle ** Schmetz Microtex 70/10 needles are our preferred sewing needles for Liberty Tana Lawn®
Good thread ** We use polyester thread for this project and prefer Mettler or Güttermann.

Step by Step Instructions
Step 1: Printing and Assembling Your Pattern
Visit our DuckaDilly Downloads page to print the Jingle Stocking pattern. The pattern should be printed at 100% scale. Instructions for how to access and print our downloads are available on our blog.
Cut and assemble the pattern pieces.

Step 2: Cutting Your Stocking Fabrics
Be mindful of which direction you want your stocking to end up facing - cut your front and back fabrics accordingly.
Using the stocking template as your pattern, cut out the following pieces:
1 Front
1 Back (mirrored from the front)
2 Linings (one facing each direction).
2 Batting pieces
Also cut:
(1) 2.5” x 10” rectangle in both fabric and interfacing, for hanging loop. For interfacing, we like Pellon SF 101.

Step 3: Quilting Your Stocking
Pin the front and back pieces of your stocking (right side up) to your batting and quilt as desired.

Step 4: Making Your Hanging Loop
Iron the fusible interfacing to the wrong side of your hanging loop fabric.
Fold in half lengthwise (right sides together) and sew a 1/4" seam.
Turn right side out, then press.
Top stitch on both edges, then trim to 9 1/2” long.

Step 5: Sewing It All Together
a) With right sides facing, sew your quilted front and back pieces together using a 5/8” seam allowance.
b) With right sides facing, sew your lining pieces together using a 5/8” seam allowance, leaving a 4” opening along the bottom of the foot.

c) Trim the seam allowances on both the quilted stocking and lining.

d) Insert your quilted stocking (right sides facing out) into the lining (wrong sides facing out). The right sides of both socks will now touching.

e) Fold the hanging loop in half, matching up the raw ends.
Insert the loop (raw edges towards the top) between the two sock layers at the back seam near the heel.
Pin the hanging loop centered on the back seam, then pin around the rest of the top, making sure to line up seams.

f) Pin around the rest of the top, making sure to line up seams.

g) Stitch around the top using a 1/2” seam allowance.

h) Locating the 4” opening in the lining, gently pull out the quilted sock.

i) Top-stitch close the opening in the foot. Push the lining back into the stocking.

Voila! Now, get ready to make another Jingle Stocking! Want to change things up? Check out our blog post for a tutorial on how to make a candy-striped Jingle Stocking.


