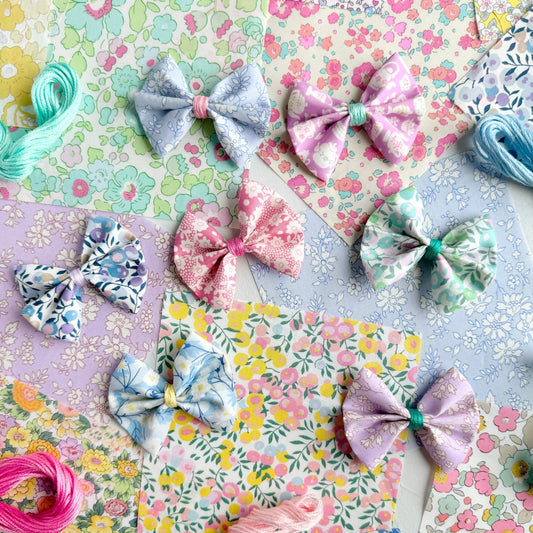
The arrival of beautiful Liberty bias tape has us dreaming up projects to celebrate Spring. Join us to learn the basic technique for making a fabric rope bowl. Imagine a cute Easter themed basket, a special gift for a friend, or a catch-all for house keys, sewing materials, or other odds and ends. Fabric rope bowls are a cinch to make with pre-made bias tape or with bias strips from your own stash. With the built-in flexibility of this tutorial, you can personalize each bowl and design one for just about any use or occasion.

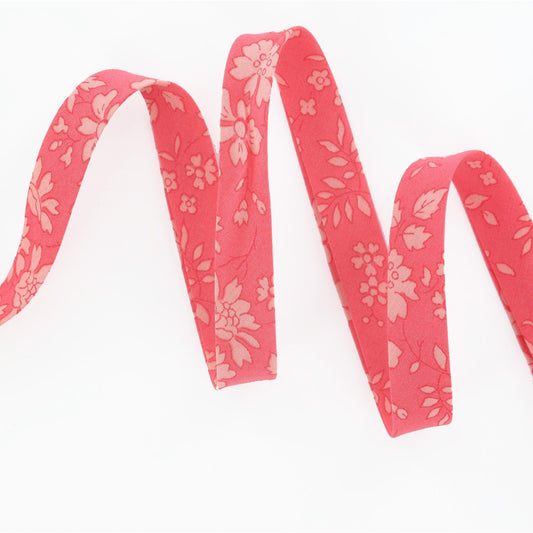
Bias Tape: Capel (A)
17 colors available
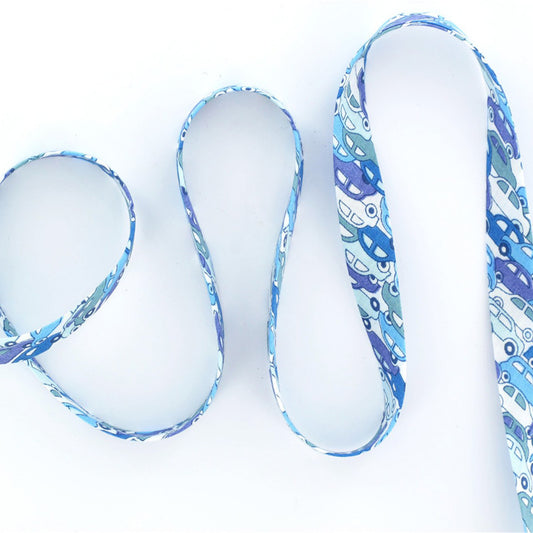
Bias Tape: Cars Blue (B)
17 colors available
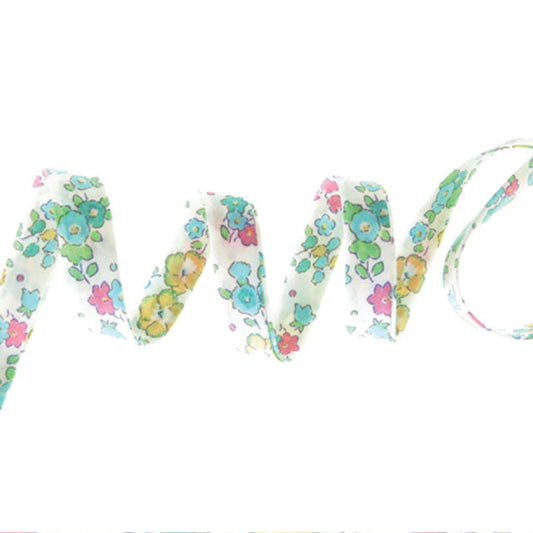
Bias Tape: Ella and Libby (D)
17 colors available
Supply Tips
Bias Tape or Strips: We recommend using pre-made bias tape or bias strips (i.e., fabric cut at a 45 degree angle to the selvage). Fabric strips cut on the bias are stronger, will minimize fraying, and will wrap around the rope more snugly.
Bias strips should measure about 1-1/2 inches in width when ironed open. Any strips longer than 10 to 12 inches will work well and allow for wonderful color and print variations. For reference, the bowl in this tutorial was made with 1 to 3 yard lengths of Tana Lawn® bias tape.
Braided Rope: We recommend a braided natural cotton rope that is 1/4 or 3/8 inch in diameter. The larger diameter rope will show prints more clearly and be a good choice for larger sized bowls. The smaller diameter rope will allow for finer variations in bowl shape and work well for smaller sized bowls. Do NOT pre-cut your rope.
Fabric Requirements
The materials required for this project will vary depending upon the type and size of bowl you want to make. The table below serves as a guide for estimating your materials. Please note that material requirements may vary depending on rope diameter, number and width of bias strips, and how much your fabric overlaps while wrapping the rope.
NOTE: As a rough estimate, for every yard of 1/4 inch diameter rope, you will need about 1-1/2 yards of Tana Lawn® bias tape.

Other Project Supplies
- Cutting mat
- Rotary cutter
- Ruler
- Iron and ironing board
- Pins or Wonder Clips
- Scissors
- Sewing machine and a durable universal needle (such as Schmetz Microtex 90/14)
- Polyester thread (such as Mettler or Güttermann)
- Glue stick (optional)
Step by Step Instructions
Step 1: Design Decisions and Material Requirements
a) Decide on the size, shape, and color scheme for your bowl and consult the table above to estimate how much fabric and rope you will need. Preparing extra materials will maximize the flexibility of your design.
b) Place a piece of tape around the rope to mark the estimated amount you will need for your design. Do NOT cut your rope to size before wrapping it in fabric. Leaving it intact will give you more freedom with the size and shape of your bowl as you construct it.
📌 Pro Tip: If you need to join lengths of rope together, you can do so by wrapping the joint with a small piece of fabric and sewing a bunch of zig zag stitches to secure it.

Step 2: Prepping Your Fabrics
Prepare your bias strips by lightly ironing with steam. Your fabrics do not need to be completely free of creases. Cut your strips to your desired lengths and trim off any frayed edges or loose threads.

Step 3: Anchoring the Rope in the Fabric
a) Begin wrapping the rope with the fabric for the base of your bowl. Center the end of the rope on the wrong side of your bias strip—the tip of the rope should be pointing towards the top corner of your bias strip.

b) Fold the top corner of your fabric over the tip of the rope. If desired, apply some glue to your fabric using a washable glue stick, which will help to hold the rope in place.

c) Next, fold the outermost corner of your fabric over the length of the rope and smooth any wrinkles. Again, applying some glue may be helpful.

d) Neatly and tightly tuck the folded corner as you wrap the bias around the rope, working at a slight angle and smoothing the fabric as you go. It is important that you pull the bias strip firmly to anchor the end of the rope inside the fabric.

e) Put a pin through the end of your rope to hold things together.

Step 4: Wrapping the Fabric Around the Rope
Continue wrapping the loose end of your bias strip around the rope, gradually increasing the angle of wrapping to about 45 degrees. Make sure to overlap the fabric by 1/3 to 1/2 of its width and to pull it taut as you wrap. While the wrapped rope does not need to be free of creases, obvious ripples and folds should be smoothed out. Once you get started on this project, you will get a feel for the angle and tautness that works best for your bias strips.

📌 Pro Tip: Alternatively, when working with pre-made bias tape, you can loosely wrap it around the rope about 6 to 8 times at an angle. Gently pull the bias tape taut with one hand, while you use the other hand to smooth and distribute the wrapped bias along the rope.


Step 5: Adding On Bias Strips
a) Leave a small tail at the end of your wrapped bias before adding your new bias strip.

b) Place the new bias strip perpendicular to the tail of the wrapped end, with the wrong sides of both fabrics facing up.

c) Fold the overlapping ends over the rope so that the right sides of the fabrics are facing out.

d) Neatly tuck the overlapping ends under the added bias and continue wrapping it around the rope, pulling the it taut and smoothing it out.

e) Use a pin or clip to secure where the fabrics overlap.

f) Continue wrapping and joining your bias strips until your desired length of rope is covered in fabric. Pin the end of your bias strip to the rope to keep it from unraveling. Again, do NOT cut your rope to size.

Step 6: Constructing the Base of Your Bowl
a) Set your sewing machine to a zigzag stitch. We recommend a stitch width of 3.5 and a stitch length of 2. You may need to adjust the settings but this is a good starting point.
b) Remove the pin from the wrapped end of your fabric rope. On a flat surface, use your fingers to tightly coil the rope (which will become the base of your basket). Work in a clockwise direction and make a coil about 1 to 1-1/2 inches in diameter.

c) Carefully secure one end of your coil under the presser foot of your sewing machine, keeping the coil nice and tight. Make a zigzag stitch across the middle of your coil from edge to edge, then turn around and sew to the center.

d) Starting at the center, carefully zigzag in a clockwise direction between the coils so that you catch the rope/fabric on both sides. Adjust your stitch length and width as needed. Work slowly but firmly. For the smaller coils in the center, you may need to lift the presser foot and make some sharp turns. Keep the rope taut and use your fingers to sculpt as you feed the slack from left to right.

e) Continue to zigzag between the coils until you reach the desired base diameter for your bowl.

🧵 Fun Fact: If you stop here and follow the steps for finishing... you will have made a gorgeous coaster!
Step 7: Building the Walls of Your Bowl
Building the walls of your bowl requires some patience (and some trust in the process). The technique you use will vary depending upon the shape and size of the bowl you want to make.
Before you start, it is helpful to place a pin or mark the spot where you will begin to build the walls of the bowl from the base. By knowing where each round of coils starts and ends, your bowl will be more symmetric as you add dimension.
For making more angular or slanted walls: Support the base of your bowl with one hand and use the other hand to guide the rope as it is being fed. This process will require a firm hand and finding the right balance between the two hands to get the wall angle you want.

For making less angular or straighter sides: Support the base of your bowl with one hand, keeping it angled as high as possible. The other hand will guide the wrapped rope as it is being fed. To achieve coils that are more stacked (i.e., straighter walls), position your finger under the wrapped rope as it is being fed under the presser foot. At the same time, use a firm hand to keep the base of the bowl angled up.

The process of building the walls of your bowl requires finding the right balance between the angle in which you hold your base and the angle in which you feed the slack. Once you get going, you will get a feel for how to vary your technique to get the bowl shape you desire.

Step 8: Finishing Your Bowl and Adding a Finger Loop
a) As your bowl is taking shape, decide where to add your finger loop. To make your bowl symmetric, plan to add your loop at the point where you started building up the walls of your bowl. Make sure you have enough wrapped rope to finish your bowl and add a loop by taking the slack and mocking things up. Add more bias strips (Step 5) if you anticipate not having enough to proceed with your plan.
b) Stop sewing about 9 to 10 inches from where you want to add the loop but do NOT remove your bowl from the sewing machine. Please note that for ease of demonstration, the rope bowl will be pictured by itself for this step.
Mock up the finger loop and use a pin or clip to mark how much rope you will need.

c) Unwrap the bias strip up to the pin or clip you just inserted and carefully cut the rope (NOT the fabric) to size.


d) To give your finger loop a more natural curve, trim the last 1/2 to 3/4 inch of your rope at a slight angle. Keep the overall length of your rope the same.

e) Rewrap your bias strip until the end of your rope is barely visible. Cut your fabric strip about 3 inches past the end of your rope.
f) Make sure the fabric stays snug around the rope and mock up your loop on the bowl.

g) Take the tail end of your bias strip and wrap it over the portion of the rope that will make up the side of your walls. Pull the fabric taut. Continue wrapping your bias until it is used up. Pin or clip your bias so everything stays neatly and tightly wrapped.


h) With your fabric bowl still in the sewing machine, continue to build your walls and zigzag between the coils. When you are ready to attach your finger loop, make sure to zigzag at the junction where the two parts of the loop meet as well as to secure the bottom of the loop to your bowl. Finish by running a straight stitch over the middle of the finger loop just to keep everything together.

The process of making fabric rope bowls is surprisingly easy! Once you master the rope bowl, you can apply this tutorial to making a set of pretty fabric rope coasters or trivets.
Wherever your imagination takes you...