
What's not to love about a pretty bow? This No Sew Project will elevate your gift-giving game. The fabric requirements are minimal, and the template includes five different sized bows. With a rainbow stash pack or sampler pack, you'll be sure to have a matching bow for that perfect gift.

Rainbow Sampler Stash Pack
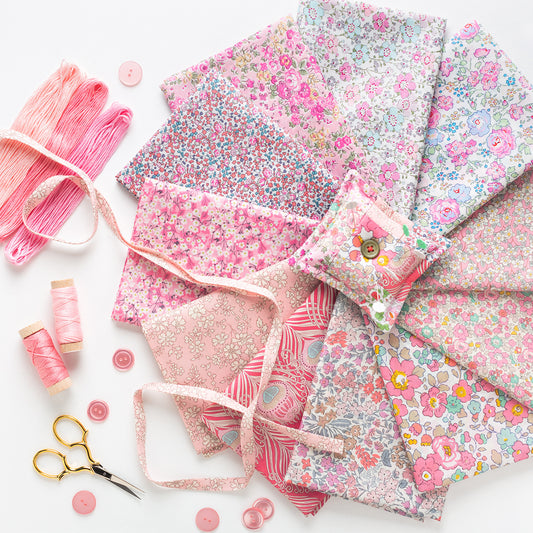
Pale Pink Stash Pack
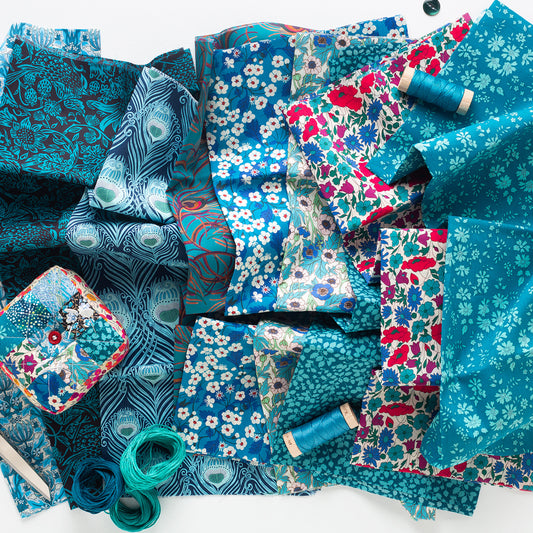
Teal Stash Pack

Capel Bundle
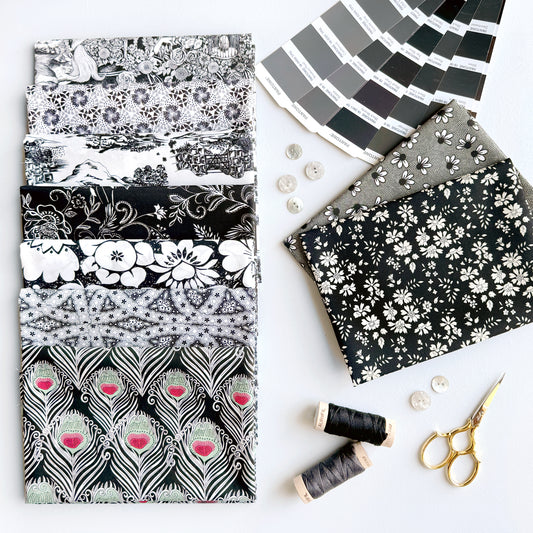
Black Stash Pack
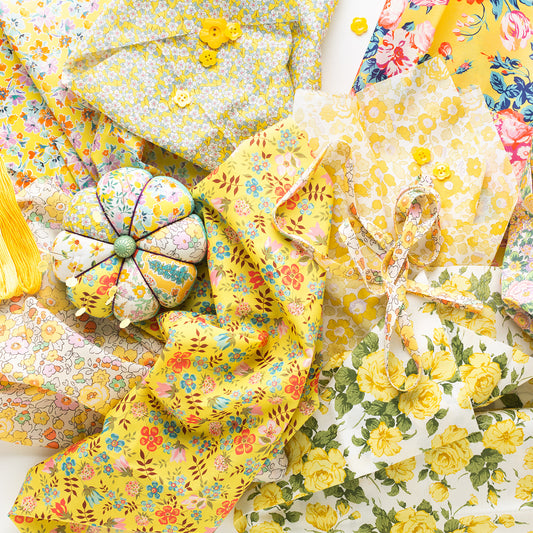
Yellow Stash Pack
Aqua Stash Pack

Rainbow Stash Pack
Fabric Requirements

Other Project Supplies
- Cutting mat
- Rotary cutter
- Ruler
- Iron and ironing board
- Marking pen
- Scissors
- Hot glue gun
Step by Step Instructions
Step 1: Printing Your Pattern
Download the Bow Topper Pattern here or visit the DuckaDilly Free Downloads page. The pattern should be printed at 100% scale and is best when printed on cardstock.
Step 2: Prepping Your Materials
a) The fabric requirements for each of the five bow sizes in this tutorial are listed in the table above. Cut your fabrics and fusible to size.
b) Carefully center the fusible (paper facing up) on the wrong side of the main fabric of your bow. Follow the instructions provided by the manufacturer to affix the adhesive to your fabric.
📌 Pro Tip: Do not overheat the iron when affixing the fusible, as it may seep through your fabric. A piece of parchment paper (NOT freezer paper) can help to protect your iron and ironing surface from adhesive mishaps. 
c) Trim the main fabric of your bow to the size of the fusible. 
d) Remove the paper backing from your fusible. Carefully center the adhesive on the wrong side of your lining fabric. Follow the manufacturer's instructions to adhere the two fabrics together. Ensure the edges are fully adhered and trim to size.
Step 3: Cutting Your Bow
a) Cut out your selected bow pattern(s). 
b) Lay your pattern on top of the lining fabric. Carefully trace your pattern with a marking pen. Using a pair of sharp scissors, cut out your bow. 
Step 4: Assembling Your Bow
a) Prepare your hot glue gun.
b) To create your bow loops, start with your lining fabric facing up. Put a bead of hot glue on corner A1. Bring A1 just past center B and press to adhere. Do NOT crease or fold your loop as you secure it.
c) Repeat this process for corners A2, A3, and A4 to create the rest of your bow loops.
d) Take your bow tails (C) and fold them fully under the center of your bow. The loop and tail fabrics should now match. Put a bead of hot glue between the backside of your bow and the tails to secure them.
e) To create the center "knot", take the long strip (D) and fold it snuggly over the center of your bow loops. It should nicely cover the ends of your bow loops.
f) Continue folding the strip over the top of your bow so that it is now on the back. Cut the strip at the bottom of the center "knot" so that it is not visible on the front. Put a bead of hot glue on the back of your bow to anchor the strip in place. 
Happy bow-making!


