
Inspired by the brisk arrival of Winter, we present a timely and fun No Sew Project, The Occasional Wreath. Not only can a beautiful wreath welcome friends and family for the holidays, but it can also make your door décor the envy of your neighbors. This project is a great way to share your love of Liberty. Select coordinating fabrics from your stash or look to our bundles and stash packs for holiday flare, seasonal color palettes, or monochromatic or complementary color schemes. After you learn the basic technique for wreath-making with Liberty Tana Lawn®, you can make a wreath for any and all occasions!
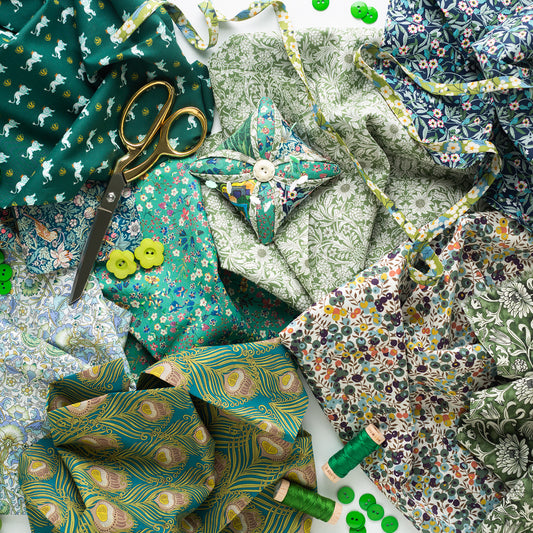
Green Stash Pack
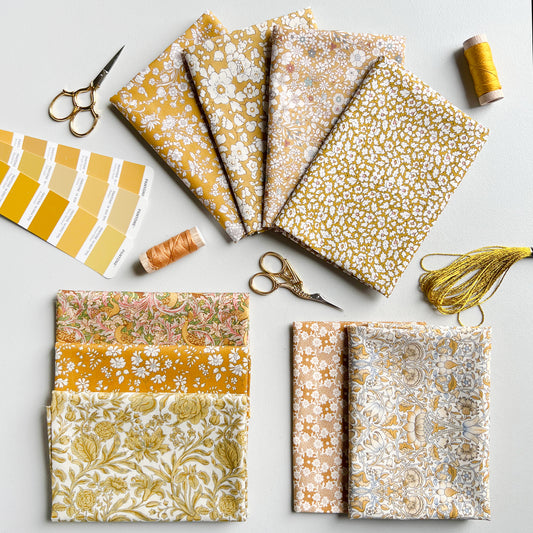
Gold Stash Pack

Red Stash Pack
Fabric Requirements
The table below shows the total amount of Liberty Tana Lawn® and double-sided fusible needed to make different sized circular wreath forms. The fabric yardage estimates are based on the weight (3.6 ounces per yard) and width of Tana Lawn® (52 inches off the bolt). Therefore, you may need to adjust your material estimates depending upon the diameter (and shape) of the wreath form you select and the width of fabric you will be using.
NOTE: As a rough estimate, every 5 inches of perimeter of your wreath form will require about a 1/4 yard off the bolt cut or 1 fat quarter of Tana Lawn® (or 0.9 ounces).

Other Project Supplies
- Metal wreath form, with at least 4 rows of wires to add fullness
- Cutting mat
- Rotary cutter, with standard blade
- Pinking rotary blade
- Card/chipboard straight edge or an old ruler
- Iron and ironing baord
- Scissors
- Pinking shears
- Ribbon or thin wire for a hanging loop (optional)
- Floral wire or twist ties (optional)
- Adornments like bells, berries, and ornaments (optional)
Step by Step Instructions
Step 1: Design Decisions and Material Requirements
Using the table above, estimate the amount of Tana Lawn® yardage needed for your selected wreath. The total yardage should be divided among the different fabrics you would like to include. While scraps as small as 1 inch x 9 inches can be used for wreaths, adhering the double-sided fusible to these smaller bits can be time consuming and challenging. We recommend, at a minimum, working with pieces of fabric the size of our fat 16ths (9 inches x 13 inches).

Step 2: Prepping and Applying Fusible to Your Fabrics
The instructions in this tutorial are written for working with Tana Lawn® fat quarters, but can be applied to using yardage and smaller pieces of fabric as well.
a) Preheat your iron. Press your wreath fabrics to smooth any wrinkles. Fold your fat quarters in half along the selvage (wrong sides facing) and press.
📌 Pro Tip: We do not prewash the wreath fabrics before adhering the fusible, although the manufacturer may recommend otherwise.

b) Using a rotary cutter with a standard blade, trim your double-sided fusible so that it is 1/8 to 1/4 inch smaller on all sides of your folded fat quarter. Account for the selvage when fitting the fusible. If you need to cut more than one piece of fusible for your fabric, minimize the gap and do not overlap the two pieces.
📌 Pro Tip: If you are using HeatnBond SoftStretch Lite, cut the 17 inch wide roll in half along the length and it will be perfect for Tana Lawn® fat quarters.

c) Unfold your fabric onto a heat safe surface (wrong side up). Center your fusible (paper side up) inside the selvage on half of your fabric. Carefully follow the instructions provided by the manufacturer to affix the adhesive to your fabric. Make sure to check your iron setting!

d) Once adhered, remove the paper backing from your fusible and fold over the other half of your fat quarter so that the wrong side of the fabric is against the exposed adhesive. Follow the instructions provided by the manufacturer to adhere the two fabrics together.

e) Repeat this process for all of your wreath fabrics.
📌 Pro Tip: If using scraps, we recommend applying the double-sided fusible to your fabric in smaller batches to more accurately gauge how much fabric you will need to complete your wreath.
Step 3: Pinking Your Fabric into Strips
a) If you are using a pinking blade for the first time, practice with your scraps. Here are some tips to help you master the technique:
- Practice on an old cutting mat.
- Use the straight edge of a piece of card/chipboard or an old ruler.
- Set your rotary cutter to the locked-open position, if possible. This will help you to focus on stabilizing the blade and applying the right amount of pressure to the rotary cutter as you go.
- Hold the handle of your rotary cutter at a comfortable angle (about 60 to 70 degrees) so that you can apply consistent and direct pressure on the point where the blade is in contact with the fabric.
- Work slowly and carefully, making sure the pinking blade is moving parallel to but not against your straight edge. If the pinking blade is not perpendicular to the mat, it may knick your straight edge or ruler and damage the blade.


b) After you have practiced and mastered the pinking technique, pink your fused fabrics to approximately 8-1/2 inches along one length. Check that the pinked edges of your fabric have been fully fused.
c) Using your pinking blade, cut strips measuring approximately 5/8 inches x 8-1/2 inches. Make sure your strips are pinked on all sides.
Once you get a feel for the width of these strips, you can just cut and forgo the straight edge.

d) Repeat this process for all of your wreath fabrics.

Step 4: Tying On Your Fabrics
a) Decide if you want to follow a particular color scheme or pattern or if you want to create as you go.
b) With the curved (top) portion of your wreath form facing up, you will want to start your first tie where the concentric circular wires intersect a cross wire.
![]()
c) Working clockwise from the innermost wires to the outermost wires, tie your first strip of fabric in a double knot around wires 1 and 2. Make sure the knot is secure and the loose ends are facing the top of the wreath. Slide the knot so that it is snug against the cross wire.


d) Your second fabric strip should be doubled knotted around wires 2 and 3. Again, slide the knot towards the cross wire.


e) Tie your third strip of fabric in a double knot around wires 3 and 4. Again, slide the knot tightly against the other strips.


f) Repeat steps 4c through 4e until your wreath is complete. Sliding the strips tightly together will add fullness to your wreath.


Step 5: Trimming and Adding the Final Touches
a) Use pinking shears to trim the ends of your strips to your desired length. We prefer to keep the strips a little longer to create more fullness to the wreath.
b) Get creative and add pops of color by tying contrasting strips of fabric to the wire. You can also secure bells or ornaments to the wreath form using floral wire or twist ties.
c) If needed, attach a ribbon or thin wire to hang and display your beautiful wreath.
![]()


Comments
Lesley says:
Thank you!
Jackie says:
THANK you for such complete and detailed instructions. Saw this wreath on Facebook and loved it. I won’t get to it this year, but hopefully for next Christmas.
REGINA CELIA FONSECA DE KAUFFMANN says:
Uma ideia muito criativa
Toda a família pode estar envolvida na confecção .O Natal vai ser bem animado. Parabéns 🎉