
Last minute presents to wrap? Anticipate having some spare time to scrap book or make “Thank You” cards? This quick and dirty No Sew Scrap Buster will teach you how to make one of our favorite supplies in the studio… decorative tape! It’s incredibly fun and easy, yet so impressive. And, all you need is your bin of scraps and some double-sided carpet tape!
Project Supplies
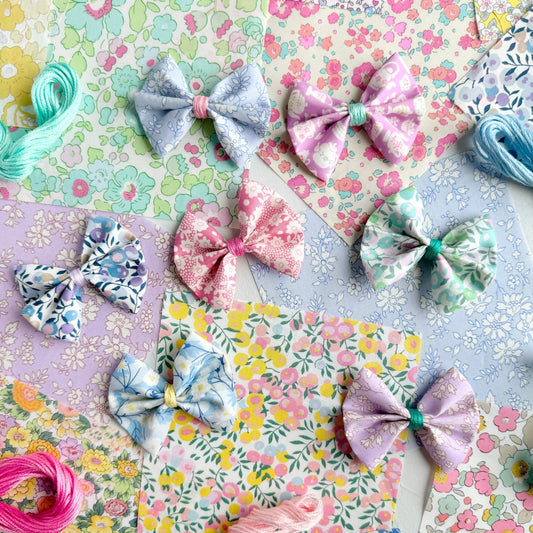
- Small scraps of fabric, about 2-1/2" to 3" wide by 1" to 6" in length
- Carpet tape (such as Duck brand indoor Light Traffic carpet tape, 1.88" wide)
- Cutting mat
- Rotary cutter
- Rotary blade, designated for working with items with adhesive
- Ruler
- iIron and ironing board
Step by Step Instructions
Step 1: Preparing Your Fabric Scraps
Decide on a color scheme, mix and match patterns, or (gasp) go rogue! Fabric scraps that are about 2-1/2 to 3 inches wide and anywhere from 1 to 6 inches in length work best. Iron pieces that are wrinkled or creased. To ensure seamless transitions in your tape, make clean, straight cuts along the sides where the fabrics will join.

Step 2: Assembling Fabrics On Your Tape
a) Using a rotary cutter, cut a piece of carpet tape that is about 16 to 20 inches long. While you can use a longer length of tape, it becomes more difficult to trim the tape as the length increases. We recommend designating a rotary blade specifically for this project, as the adhesive can gum up your blade.
b) Lay the piece of tape on your cutting mat (sticky side up).
c) Starting from one end of the tape, lay down your first piece of fabric (right side up). You will want to leave a 1/2 to 1 inch tail of fabric at each end of your tape to make it easier when trimming the excess fabric. Continue piecing until the entire tape is covered, carefully lining up your fabrics to make the transitions seamless.

Step 3: Finishing Your Tape
a) Lay your carpet tape with the backing side up. Using a rotary cutter, trim the excess fabric from your tape.
📌 Pro Tip: Rest your ruler on the excess fabric, NOT on the tape. This keeps your ruler from slipping and pieces of fabric from getting caught in your rotary cutter.

b) Keeping your tape with the fabric side down to reduce slippage, cut the tape in half lengthwise (or to any desired width).

c) Store your decorative tape in long strips or cut it into smaller lengths.

Transform your gift-giving!


Comments
Karen says:
Brilliant. I’m a quilter and always have little scraps of leftover fabric. What a great way to use them. I just love this website.
Valorie Joyner says:
Great idea!!