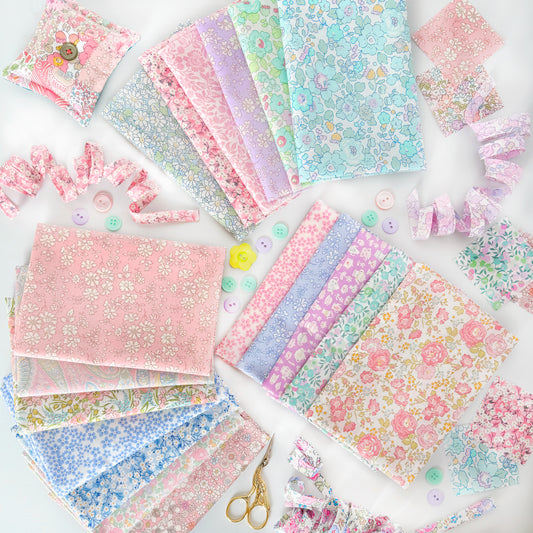
The Luxe Liberty Padded Hanger tutorial was inspired by a gift Lesley received years ago from an amazing customer and talented sewist, Angela! Lesley has used and loved the hangers so much that we created our own quick tutorial so that you, too, can enjoy the luxury of Tana Lawn® hangers in your home! This simple upgrade will transform the way your closet looks and feels. Padded hangers are easy to make, use only a small amount of fabric, and are great for gift-giving. Fashion coordinating hangers from your scraps or get started with a fat quarter stash pack or curated bundle.
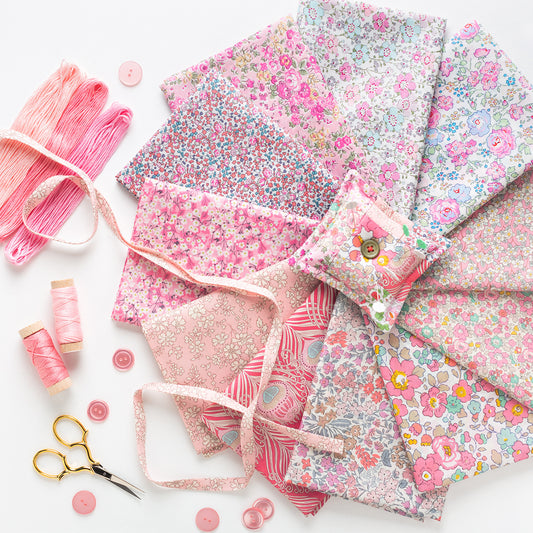
Pale Pink Stash Pack
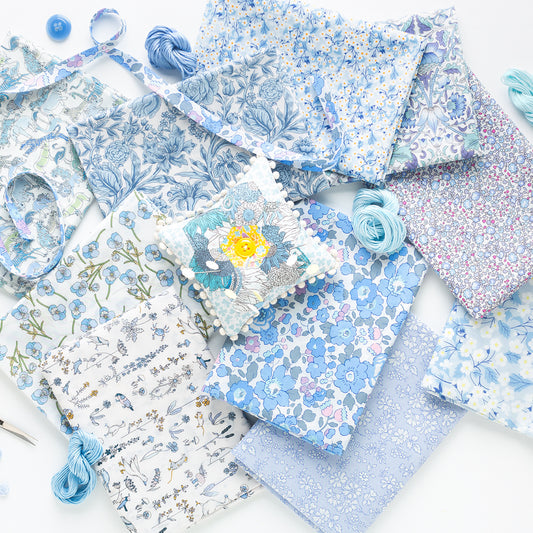
Light Blue Stash Pack
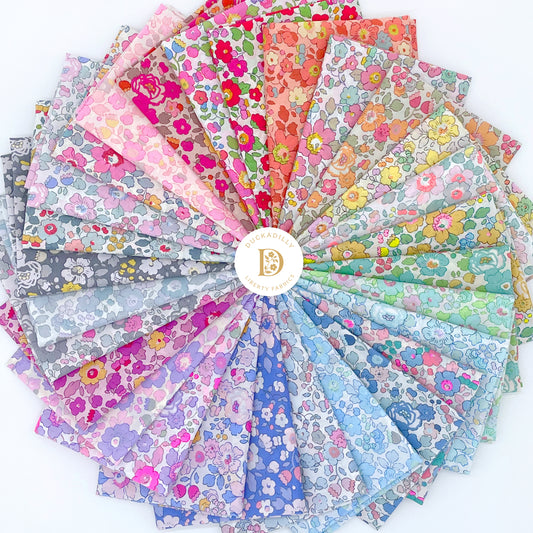
Betsy Bundle
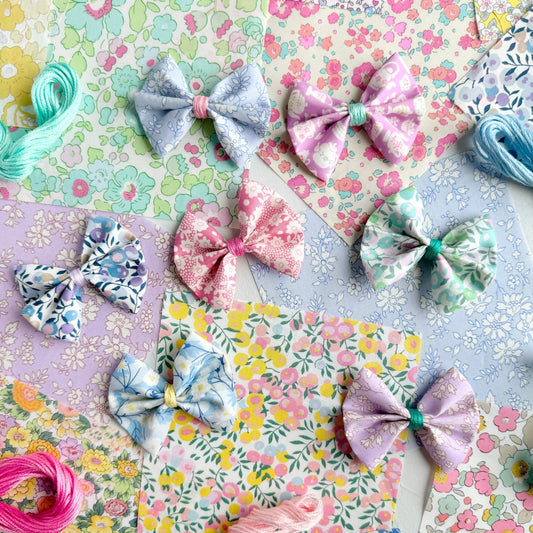
Pastel Bundle
Fabric Requirements
Tana Lawn® Fat Quarter: 18" x 26" (makes 3 hangers)
Other Project Supplies
- 17" white satin padded hanger (often includes ribbon)
- 5/8" to 3/4" satin or cotton twill tape ribbon (about 22" per hanger, if ribbon not included)
- Cutting mat
- Rotary cutter
- Ruler
- Iron and ironing board
- Scissors
- Pins or Wonder Clips
- Hand sewing needle
- Sewing machine and good needle
- Polyester thread (such as Mettler or Güttermann)
- Point turner (optional)
Step 1: Printing and Assembling Your Pattern
a) Download the Luxe Liberty Padded Hanger pattern here or visit the DuckaDilly Free Downloads page. The pattern should be printed at 100% scale.
📌 Pro Tip: If you plan on making a lot of hangers, print your pattern on cardstock.
b) Carefully cut out your pattern piece. Use a rotary cutter and ruler for the straight edges.

Step 2: Cutting Your Hanger Fabric and Ribbon
a) The ribbon included with your padded hangers works great for this project. However, if you prefer, cut a 22 inch piece of satin or twill ribbon of your choice.
b) Press your fabric, then pin the pattern to your fabric and cut out four hanger pieces. To conserve fabric and align design elements, consider the following layout for a Tana Lawn® fat quarter.

📌 Pro Tip: This pattern can easily be adjusted to accommodate different widths or lengths of similarly-styled hangers. Verify the pattern with your padded hangers to ensure the best fit and modify if needed.
Step 3: Sewing Your Hanger Fabric
a) Place two of your cut fabrics right sides facing and pin. Sew a 1/2 inch seam around the long edges and curve to create a sleeve.

b) Trim the inseam around the curve to 1/4 inch and clip the curve.

c) Carefully turn your hanger sleeve right side out. Use a point turner to smooth the curved edge.

d) Repeat this process and make a second hanger sleeve.

Step 4: Finishing Your Hanger
a) Take one of your sleeves and tuck the raw edge inside the opening about one inch. Finger press the finished edge.

b) With the seams facing the sides of the hanger, pull the sleeve with the finished edge onto one arm of the padded hanger. Ideally, the finished edge should be centered near the base of the hook. However, you can remove and refold the edge of the sleeve or use a point turner (or chopstick) to make adjustments to the fabric.
📌 Pro Tip: The fabric sleeve is designed to fit snuggly, so you may need to squeeze the padding and gently push it into the sleeve to start. The satin will help the fabric to slide smoothly.

c) Repeat this process with the other hanger sleeve, pulling the sleeve to the center and aligning it with the first.

d) Hand sew the folded edges of the two sleeves together using a ladder stitch. Start at the top of the hanger near the hook, adding some additional stitches to secure the join.
e) To tie your bow, find the middle of your ribbon and loop it around the metal hook.

f) With the ribbon taut and edges slightly overlapping, pull the ribbon under the base of the padded hanger, around the back, and up to the metal hook.

g) Now, pull the ribbon to the front of your hanger, separating the ribbon ends to either side of the metal hook. Make a knot, then tie a neat bow

It's easy to get hooked on these...