
Strip quilting is a great project for first timers or for anyone who is seeking low commitment (i.e., finished in a weekend), high reward (i.e., met with lots of oohhs and aahhs). While the construction of strip quilts seems pretty straightforward, your friends at DuckaDilly would like to share some helpful tips for piecing long strips of fabric like Dilly Rolls.
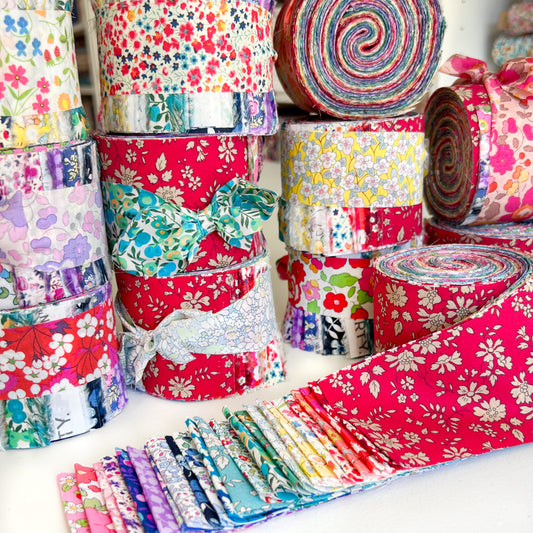
Rainbow Dilly Roll
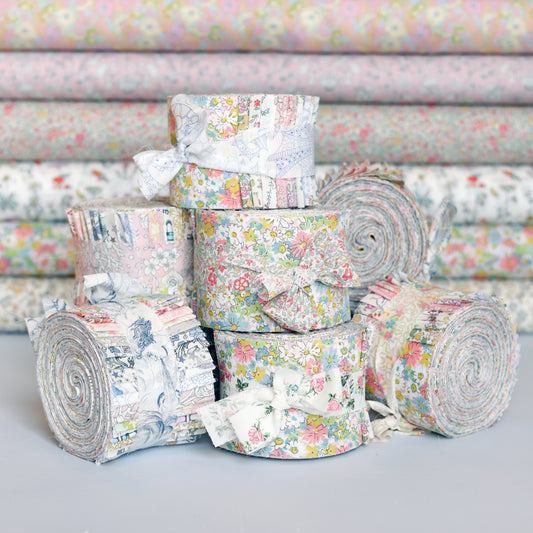
Soft Neutrals Dilly Roll
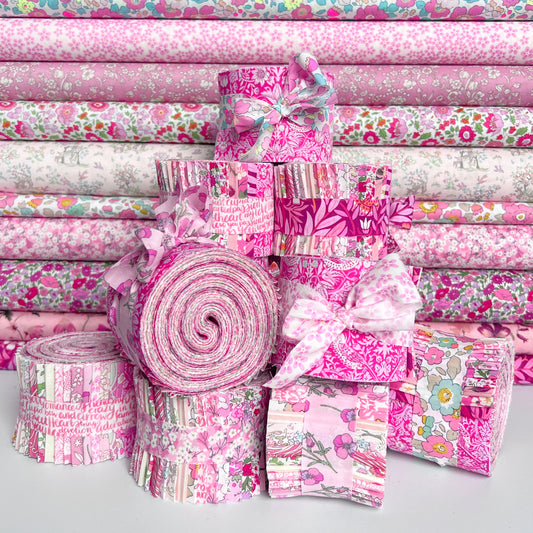
Pink Dilly Roll
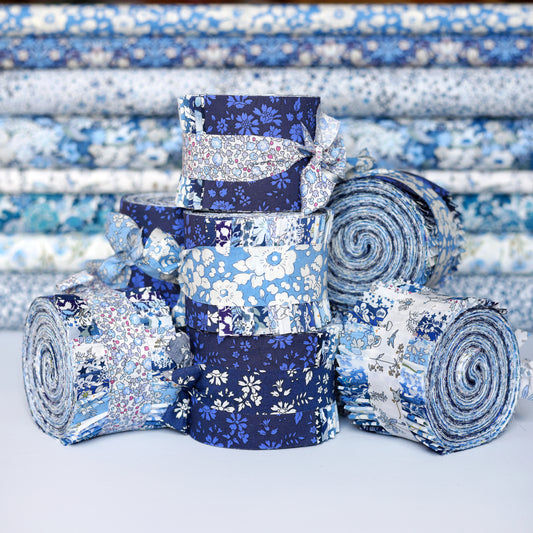
Blue Dilly Roll
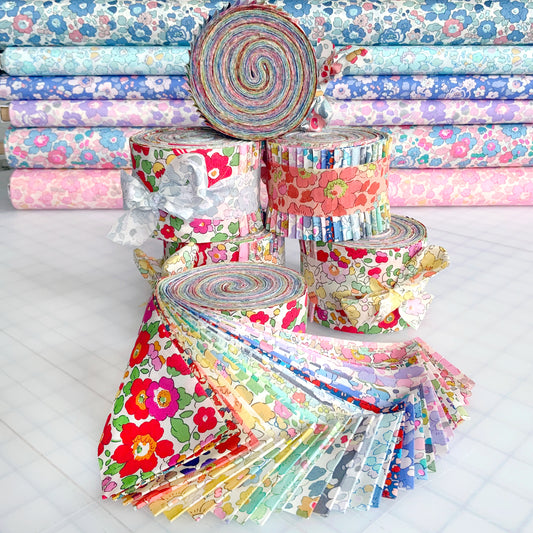
Betsy Dilly Roll

Pastel Dilly Roll
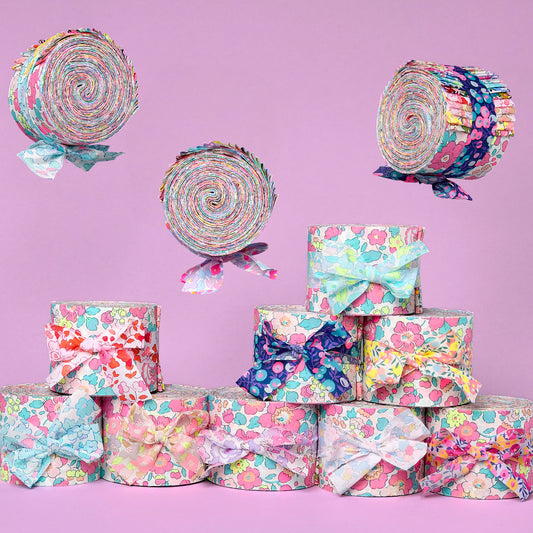
Neon Dilly Roll
Step 1: Prepping the Fabric
While you may not have a Dilly Roll in your stash, you can easily cut long strips for piecing at home. In the studio we cut our Dilly Rolls at 2.5 inches x width of fabric (WOF). A good rotary cutter and ruler are essential for the task. If you would prefer a ready-made project, our beautiful Pippi Quilt can be made from pre-cut Dilly Rolls in a colorful Liberty Rainbow, soft neutrals, blues, or pinks.
You will notice that your long strips might be different widths from selvage to selvage. Our Dilly Rolls measure 2.5 inches x 52-54 inches. Since each bolt of fabric is a slightly different width, your ends will not match up exactly when piecing. Take a deep breath… everything will be fine! Those naughty mismatched ends will be trimmed when your quilt top is done.
Step 2: Coming Up With A Design
Dilly Rolls are fun to unravel! The prints and colors add an element of surprise and delight when the roll is opened. Dilly Rolls do not need to be pre-washed or pressed—they are ready for sewing!
Separating the strips by colors is a good start to the design process. Some people prefer to design end-to-end while others start in the middle and work their way out. Either way, you will not regret putting time and thought into the design of your final quilt.

Step 3: Alternating Directions While Sewing
In order to keep your strips as straight as possible, we recommend:
- Alternating which direction you are sewing your seams
- Sewing in chunks of 6 to 8 strips
Line up your first two Dilly Roll strips (right sides facing together) and sew a 1/4 inch seam. If it is helpful, you can use a pin to mark which direction you are sewing from.
We recommend backstitching at the beginning and end of each strip to keep all your stitches in place. Work slowly and carefully, allowing the machine to feed the fabric. It might be tempting to tug at the strips to make them line up but resist the temptation! Stretching your fabrics can encourage puckering and bowing.
Line up your next strip (right sides facing together) and sew a 1/4 inch seam while alternating the direction of your sewing. NOTE: This is where having a pin in your block can help you to figure out directionality.
Sew a chunk of 6 to 8 strips to make it easier to monitor if everything is looking nice and straight. Once all of your chunks of strips have been sewn, sew all of the chunks together!
Step 4: Finishing Your Quilt Top
Finish your strip quilt by pressing the seams to one side. This will make the seams lie flatter, straighter, and stronger. While some people prefer to press all the seams to one side, you can also press the seams towards the darker fabric so that the seams will be less visible. Finally, trim off those naughty mismatched ends.
Now… Go show off your beautiful Dilly Roll quilt!


