When looking at new fabrics that come in the studio, we love to chat and dream about what we would make with them. A perfect maxi dress, a gorgeous backing for a quilt, binding, a child's dress, or a pillowcase!
Today, we are sharing our favorite way to make pillowcases. This is a well-loved method, often called the tube, sausage, or burrito method. Complete with French seams -- we love French seams to enclose raw edges so there will be no loose threads -- this project is satisfyingly quick and uses only one yard of fabric!
Check out our Luna Pillowcase Kits or follow the tutorial below and use your own stash.

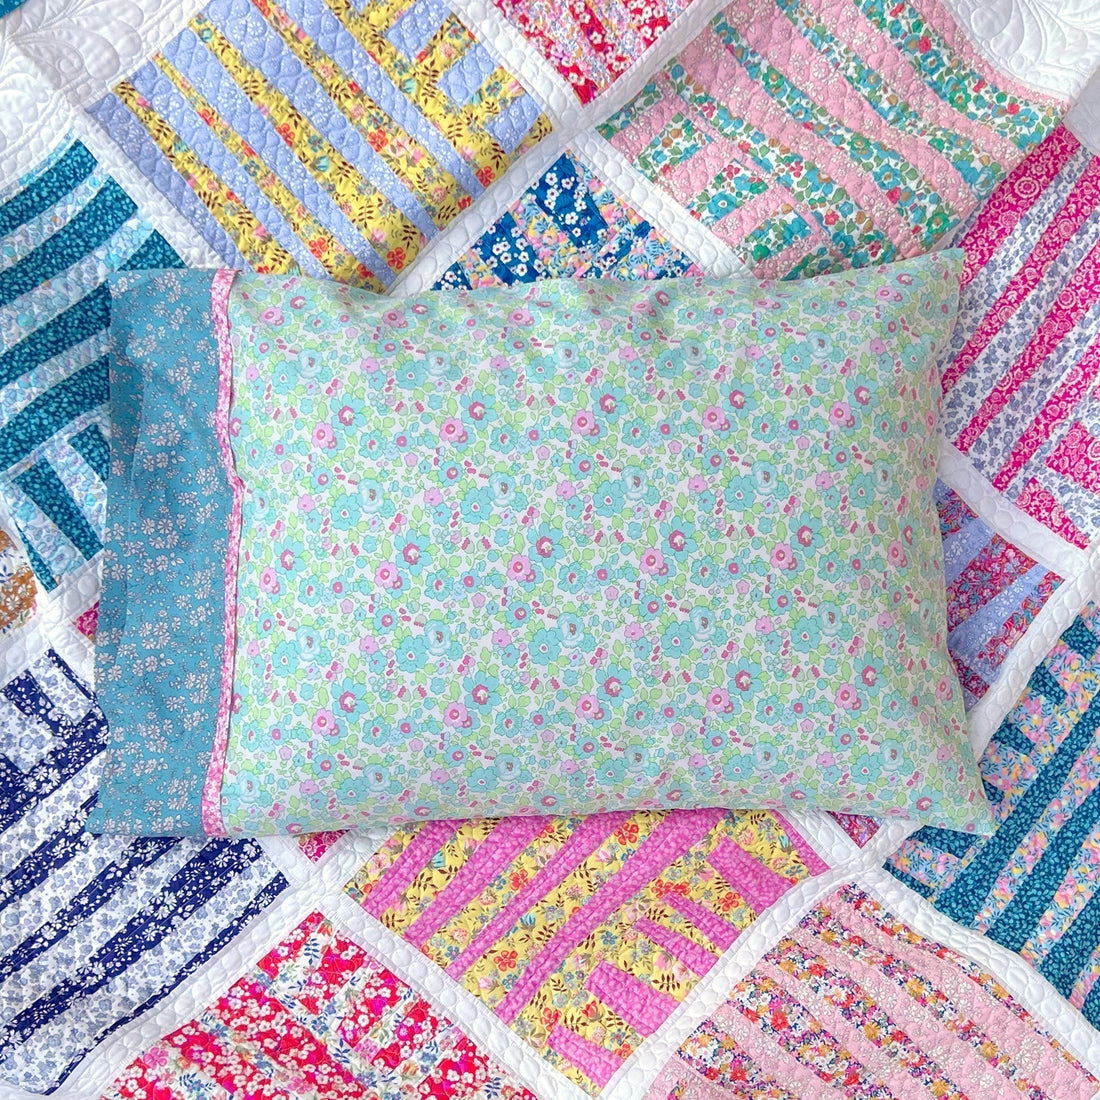
Luna Pillowcase - Betsy Watermelon
Fabric Requirements
The fabric requirements for a queen sized pillowcase are listed below. If using a directional print, yardage requirements may differ. 
Other Project Supplies
- Cutting mat
- Rotary cutter
- Ruler
- Iron and ironing board
- Pins or Wonder Clips
- Scissors
- Sewing machine and good needle
- Polyester thread (such as Mettler or Güttermann)
Step by Step Instructions
1) Trim your fabrics to size. The width of your three fabric cuts will be 42". Be mindful of directional prints before cutting.
- Body: 27" x 42"
- Cuff: 9" x 42"
- Trim: 2" x 42" (Fold and press your 2" wide strip in half so that it is 1" x 42")

2) Start building your burrito... This is where the magic begins!
On a flat surface, line up the 42" sides and layer and pin as follows:
- Bottom layer: Cuff fabric, right side facing up
- Middle layer: Body fabric, right side facing up
- Top layer: Folded Trim fabric, lining up the cut edges

3) Carefully roll the Body fabric from the bottom all the way up to the pinned edge.

4) Now, take the bottom edge of the cuff fabric, and pull it over the rolled body. Line it up with the pinned edge and carefully re-pin.
You now have a burrito!

5) With a 1/4" seam, carefully sew along the pinned edge.

6) Starting from one side of the tube, carefully pull the inner Body fabric out of the tube in its entirety. Your pillowcase should be starting to take shape!

7) Press the cuff. You may need to straighten the edges.

8) Now we are going to start our French Seams!
Fold in half, wrong sides facing together. Carefully match up the trim on both sides and pin all the way around.
Starting at the opening of the pillowcase, sew a scant 1/4" seam allowance on the two raw edges.

9) Trim the two corner seams at a diagonal to reduce bulk. Turn the pillowcase inside out. Press around the seams. Again, make sure the trim on both sides is matched up and pin all the way around.
Sew a 3/8" seam on the two sewn edges, being careful not to catch your seam allowance. Your French seams are now complete!

10) Flip right side out and give it one final press... Voila! You have a finished pillowcase with beautiful French seams.

Now it's time to dream under the stars...


Comments
Julie Smith says:
AND those were good instructions & photos!
Julie Smith says:
Thanks. I’ve used serger L890 previously. Might again except regular machine stitch the last seam (to enclose).
Jan says:
Thank you!