
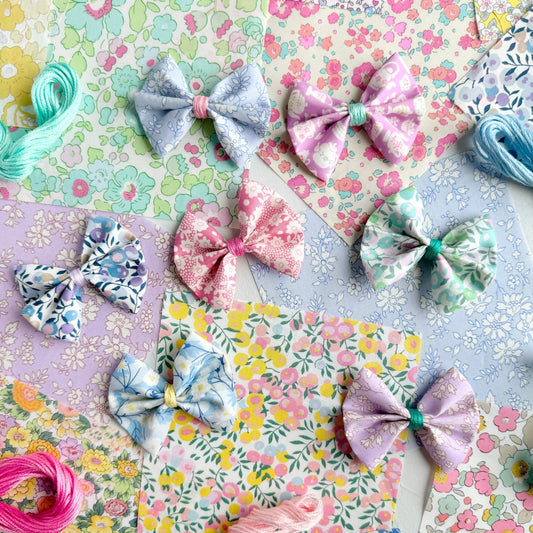
This is a tutorial you are knot (pun intended) going to want to miss. Freshen up your look with a beautiful knotted headband. These headbands are a cinch to make and do not require a lot of fabric. In fact, you can make one to match every outfit! This project is also Tana Lawn® fat quarter friendly, so use your own fabric or check out our stash packs and bundles for inspiration.
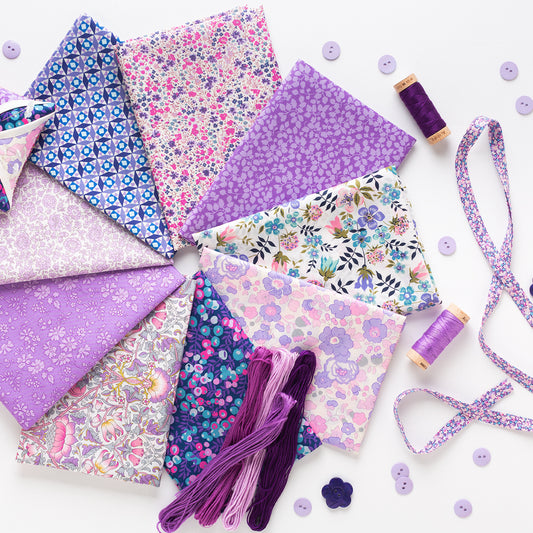
Purple Stash Pack
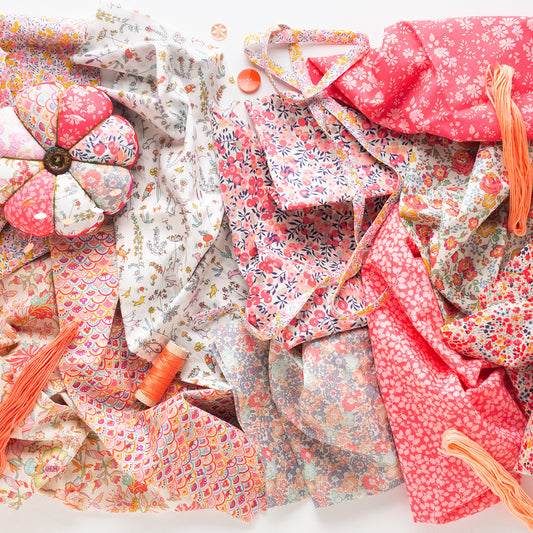
Coral Stash Pack

Rainbow Sampler Stash Pack
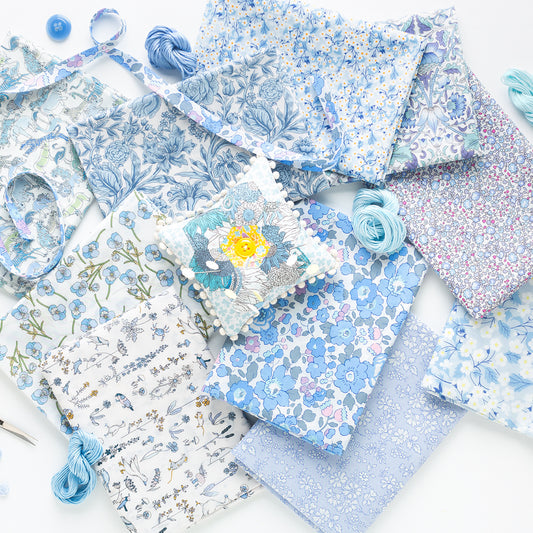
Light Blue Stash Pack
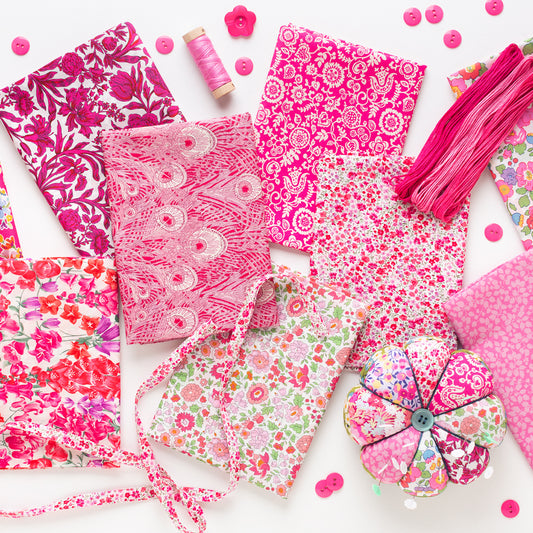
Pink Stash Pack
Fabric Requirements
Other Project Supplies
- Fabric-covered plastic headband (pattern fits headbands 1.3" wide and 14" end to end)
- Glue stick or tape
- Hot glue gun
- Cutting mat
- Rotary cutter
- Ruler
- Iron and ironing board
- Scissors
- Pins or Wonder Clips
- Sewing machine and good needle
- Coordinating thread
- Hand-sewing needle
Step by Step Instructions
Step 1: Printing and Assembling Your Pattern
Download the Knotted Headband Pattern here or visit the DuckaDilly's Free Downloads page. The pattern can be printed on regular printer paper. Make sure to print at 100% scale.
Cut out and assemble your pattern pieces using a glue stick or tape.

📌 Pro Tip: You may need to modify the pattern pieces slightly if you are using a different sized headband.
Step 2: Cutting and Stabilizing Your Headband Fabrics
If arranged as illustrated, all of your pattern pieces can be cut from a single fat quarter of Tana Lawn®. Keep in mind that Piece B1/B2 must be cut on the bias.
🧵 Fun Fact: Alternatively, you can cut your lining piece (B1/B2) from a coordinating fabric, if desired.

Cut the following pattern pieces:
- 2 Knots: Piece A1/A2
- 1 Fusible Fleece: Piece A1/A2, cut to the seam allowance (dotted line)
- 1 Lining: Piece B1/B2, cut on the bias
The fusible fleece should be cut to the dotted line of Piece A1/A2.

📌 Pro Tip: If you plan to make more than one headband, consider printing and assembling an extra Piece A1/A2 and cutting it to the dotted line.

Step 3: Prepping the Knot for Your Headband
a) With right sides facing, sew your two knot fabrics together using a 1/4 inch seam allowance. Leave a small 1-1/2 inch opening along the middle. Backstitch around the opening to secure it.

b) Center the fusible fleece within the seam allowance of your sewn knot fabric (adhesive side down) and trim the fleece, if needed.

c) Place the fleece (fusible side up) on a heat safe surface, then center the knot fabric (wrong sides out) on top of the fusible. Follow the instructions provided by the manufacturer to fuse the fleece to your knot fabric. Take care not to over iron, as too much heat may cause the adhesive to alter the Tana Lawn®. Check that the fleece is properly adhered.
d) Carefully flip the knot right side out.

e) Once flipped, neatly tuck in the fabric 1/4 inch along the opening. Give the fabric a quick press on the non-adhesive side. Again, do not over iron.
f) Hand sew the opening closed with a whip stitch or invisible stitch.

Step 4: Lining Your Headband
a) Make a crease in the middle of your lining fabric by folding it crosswise. Center the crease of the lining at the top of the headband so that the wrong side of the fabric is facing the inside of the band. Check that the lining will cover the length of the headband from end to end.


b) Prepare your hot glue gun. Apply a thin 2 inch strip of glue along one edge of your headband, starting at the top. Working quickly, neatly press the lining fabric into the glue so that it covers about half the width of your headband.


c) Continue gluing every couple of inches until you get to the end of your band. You may find that there will be more fabric covering the headband at the end as compared to the middle. As you are gluing, make sure the lining fabric stays smooth and flat on the top.


d) Finish attaching the lining so that one full edge (lengthwise) of the headband is covered with fabric. Again, start in the middle and neatly glue down a couple of inches of fabric at a time.


📌 Pro Tip: If you are right-handed, it is easier to glue the fabric from left to right. If you are left-handed, you may want to work from right to left.
e) Repeat Steps 4a to 4d to attach the lining fabric to the opposite edge of your headband. Make sure to pull the lining fabric taut as you work and to check that the fabric on the interior of the headband stays neat and tidy.


f) Lastly, cover the ends of your headband with the lining fabric by neatly creasing the fabric as you apply small dots of glue. Again, check the interior of your headband to make sure the fabric remains smooth and wrinkle free.


Step 5: Assembling Your Headband
a) To tie the knot, start by holding the ends of your knot fabric together (adhesive sides facing). Place your lined headband perpendicular to your knot fabric so that the inside of the headband is facing the adhesive side of the fabric.

b) Tie a neat, loose knot around the middle of your band. You'll want to twist the ends of your knot fabric as you tie so that the adhesive side of the fabric faces the top of the headband.


c) Carefully and neatly tighten the knot. Make sure the ends of the knot fabric will fully conceal each end of the headband.


d) Holding the knot in place, flip one end of the fabric over the knot.

e) Apply a 2 to 3 inch strip of glue down the length of the headband and gently pull and press the loose end of the fabric into the glue. Work your way down one side of the knot, then repeat on the other side. Make sure the knot fabric is properly adhered to the headband.


Elevate your style!


Comments
Linda K says:
Very nice 👍 looks like seller for our church Easter bazaar,thanks